
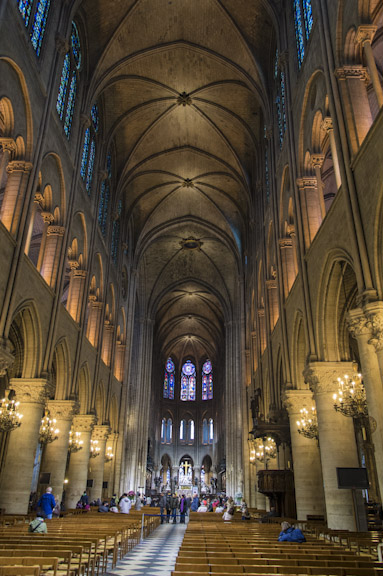
I am asked fairly regularly about how to photograph in low light situations where tripods are either not allowed or not possible. Examples might be at an indoor dance performance, inside a cathedral, twilight photography from a tour boat or even just travel photography on a dark and dreary day.
So there are two parts to this question: the low light part and the hand-held part. Let’s look at each of these and then I will put the two parts together into an answer.
Photographing in low light means you have to use the your highest useable ISO, not your highest, but highest useable. This you have to determine for every camera you own. Find a low light situation (a semi dark room, outside at twilight) and shoot the same scene with every possible ISO on your camera. When you look at the pictures on your computer you will see a gradual increase in noise (what we used to call grain- noise looks grainy) as the ISO increases. You will also see the point where the amount of noise is no longer acceptable to you. Find the picture with the highest ISO and still acceptable grain and remember that number- it is what I call the Bigfoot number- the ISO you will use to photograph Bigfoot in a dark forest and still get a picture you can sell for millions (you can thank me later).
Photographing in low light also means you have to gather as much of the low light as possible. This means you have to use your widest aperture on your lens- probably f2.8 or f4. When you shoot wide open it means you won’t have any depth of field so you will have to look for compositions that are dimensionally flat. In other words, you can’t try any hyperfocal shots or try to get the foreground and distant background in focus. You have to find compositions where the foreground and the background are close to each other.
The hand-held part of the question is best answered by getting the highest shutter speed you can. The higher the shutter speed the sharper your final shot is going to be. You get the highest shutter speed by shooting wide open with the highest useable ISO (which you are already doing) and by using your Aperture Priority mode. This seems counterintuitive but if you think about it, it will make sense. In Aperture Priority the camera will pick the highest possible shutter speed if you are shooting wide open and using your highest useable ISO. It’s guaranteed. In Shutter Priority you have to guess at a shutter speed to select and it may not be the highest possible. For me, when I am hand-holding, the faster the better.
 Compositionally, the secret to getting good hand held shots is to shoot bigger than you normally would. by bigger I mean zoom back a bit so you are including more of the scene than you may want to. The reason to do this is to guard against the accidental foot or tail or steeple cut-off that is so easy to do when you are hand holding. It is impossible to finely compose your shot without a tripod so don’t try. Shoot larger than you want and then when you get the picture into your computer you can crop it to exactly how you want it.
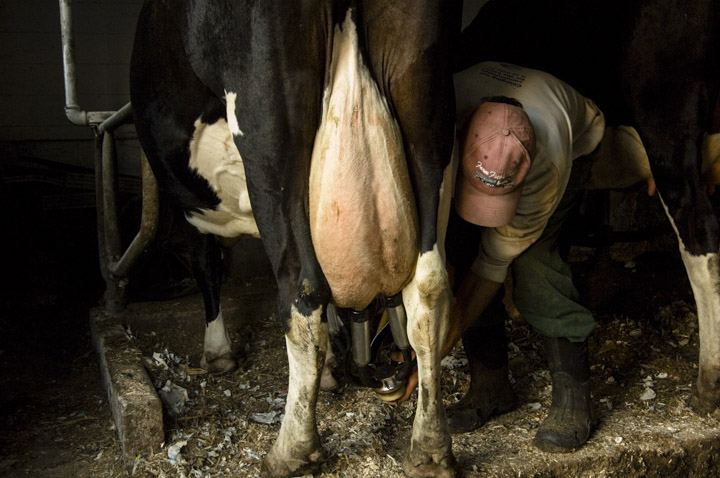
Finally, when hand-holding I always try to find something to brace my body against- a light post, a wall, the side of a car, anything. If I can’t find something to lean on I try my best to be really still- I bring my elbows in, spread my legs a little, get real tight with my body. I also shoot a quick burst of images – say 4-6 at once. Whenever I do this some of the images in the burst will be sharper than others. I don’t know why this works but it does.
So there you have it- my technique for shooting hand-held in low light. I did practically my entire Lobstering Life book hand held and a lot of it was in the low to no light of dawn and dusk. Go out and give these techniques a try. Practice will make it easier and increase your number of keepers.