
David’s Blog
I’m Back!
It has been a long few years but I'm back now, cranking away, as creative and grumpy as I have always been. The book I started 4 years ago is now mostly finished- just a couple more chapters to go- 100,000 words! - a curious number since I only know about 300 words. I will say that once I learned about verbs the writing became much easier. The book...
On Writing
It is much easier to begin not to write than it is to not write once you begin.
I’m Back!
It has been a long few years but I'm back now, cranking away, as creative and grumpy as I have always been. The book I started 4 years ago is now mostly finished- just a couple more chapters to go- 100,000 words! - a curious number since I only know about 300 words. I will say that once I learned about verbs the writing became much easier. The book...
My Native Habitat
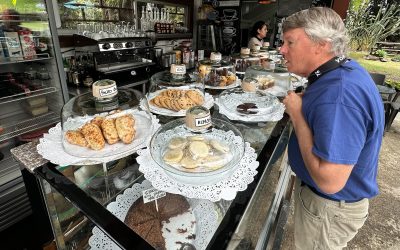
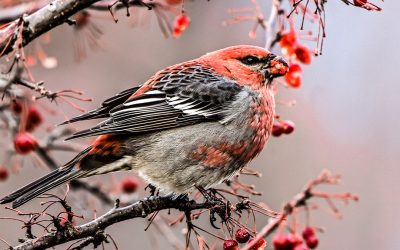
Blackburnian warblers are niche trackers- they keep to the same ecological niche- cool, damp, diverse, mature forests- whether they are in South America during the winter, on migration or nesting in North America. Same applies to me except my niche is much simpler (and more delicious!).

Thoughts on Writing
I have several rules to writing. OK, there are not really rules. Let’s call them strong suggestions. None of these are original and I take no credit for any of them, but all have proved true over my 30 years of writing. The suggestions are not listed by importance — I put them on the page as they tumbled off my pointy, little head. Write however is...

How to Write a Book
Since you didn’t ask, I thought I would give you, my lone reader, a personalized insider’s view of the hows, whys and wherefores of writing a book. I have done this 12 times in the past and I still don’t really know how it happens and I certainly haven’t learned how to not torture myself through its completion. Ok, you’ve decided you want to write a book....
On Photography
There are rules, guidelines, suggestions, recommendations, procedures, instructions and directions in photography and all of them are handy most of the time and dreadful some of the time. As is said “Rules are made to be broken.” But there are also Laws in photography that are sacrosanct, to be broken only under great penalty. Curiously, most photographers...
On Writing
I have several rules to writing. OK, there are not really rules. Let’s call them strong suggestions. None of these are original and I take no credit for any of them, but all have proved true over my 30 years of writing. The suggestions are not listed by importance - I put them on the page as they tumbled off my pointy, little head. Write however is...
So You Want to Write a Book
Since you didn’t ask, I thought I would give you, my lone reader, a personalized insider’s view of the hows, whys and wherefores of writing a book. I have done this 12 times in the past and I still don’t really know how it happens and I certainly haven’t learned how to not torture myself through its completion. Ok, you’ve decided you want to write a...
Joan
Joan Townsend met Hugh Bromley in Brussels in 1944 during WWII. She was a sergeant in the British army and a translator for the Royal Corps of Signals and he was a sergeant in General Patton’s 3d army. She grew up in Wimbledon, England, a London city girl and he grew up in rural Vermont never having seen a city. A friend of Joan’s, Madame Delcroix, who...
Farm Time
“Do you know what time it is?” I ask Roger one day while we are switching a full hay wagon for an empty one during a break picking up bales. I have the tongue of the empty wagon in my hands as Roger is backing the tractor up to me.“I don’t know,” Roger says over his shoulder looking down at the tongue, “after dinner but before supper- best I can do.”“What...
On the night of April 25th, 2021
On the night of April 25th, 2021, one hundred million migrating birds, flying northeast, crossed the Texas coast. One night, over 100 million birds; how is this comprehendible? It’s not, not to mostly daylight living humans firmly stuck to the hard ground of Earth. One hundred million birds in one night and no one in Texas other than a few...